How to Install a Fire Pump System Properly
Discover the key steps and NFPA 20 guidelines for correctly installing a fire pump system, from site preparation and alignment to piping and electrical connections.
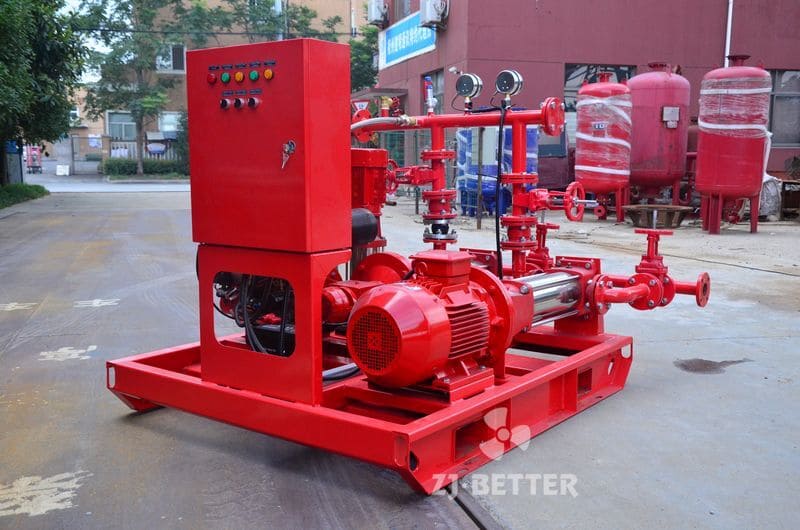
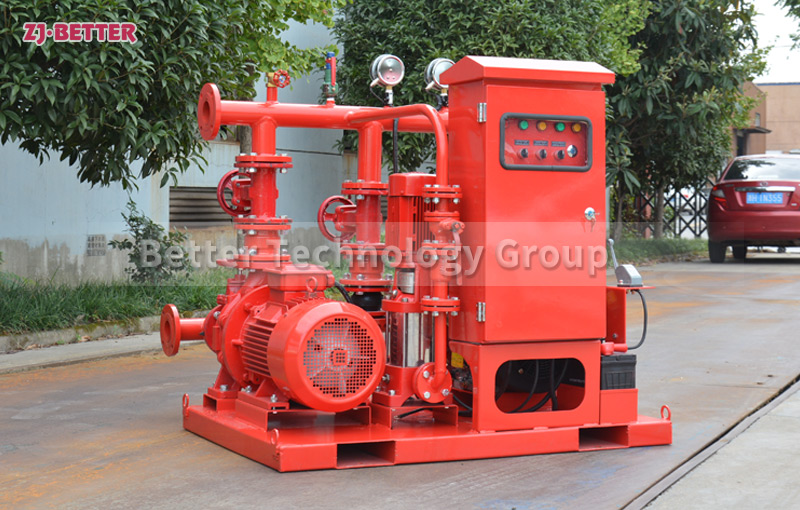
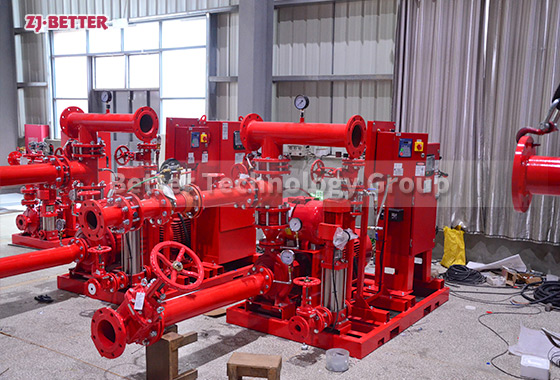
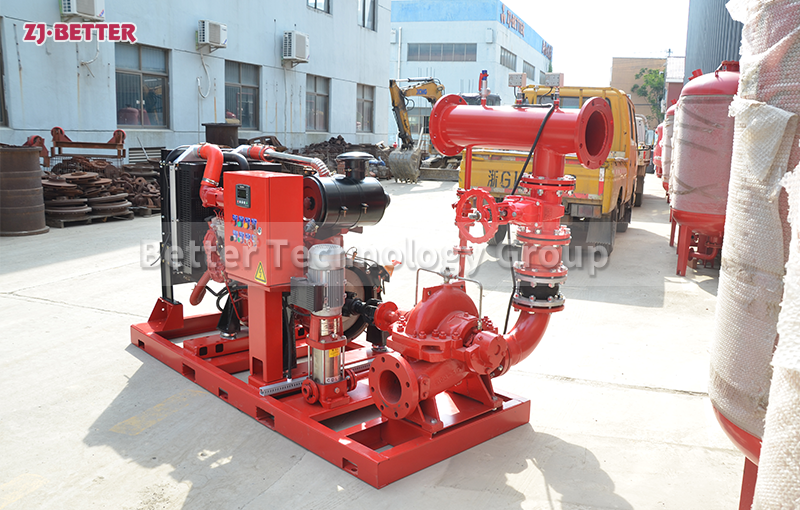
Installing a fire pump system is a critical process that must be performed with precision and in full compliance with NFPA 20 standards. Proper installation ensures long-term reliability, optimal performance, and readiness during fire emergencies. Whether you are installing a new system or replacing an old one, here’s a step-by-step guide to getting it right.
1. Choose the Right Location for the Pump Room
According to NFPA 20, the fire pump room should:
-
Be separated from the rest of the building by fire-rated walls
-
Have independent access for emergency personnel
-
Include proper drainage to prevent water damage
-
Be climate controlled to avoid freezing or overheating
-
Be spacious enough for maintenance and airflow
Always coordinate with your local fire authority to meet jurisdiction-specific codes.
2. Prepare the Foundation and Mounting Base
A solid, vibration-free foundation is critical for fire pump stability.
-
Use a concrete base with a minimum of 4 inches wider than the skid
-
Ensure the base is level and fully cured before installation
-
Use grout under the pump base for full contact and vibration reduction
-
Anchor bolts must be embedded and torqued properly
Vibration isolators or pads may be added to further reduce wear and noise.
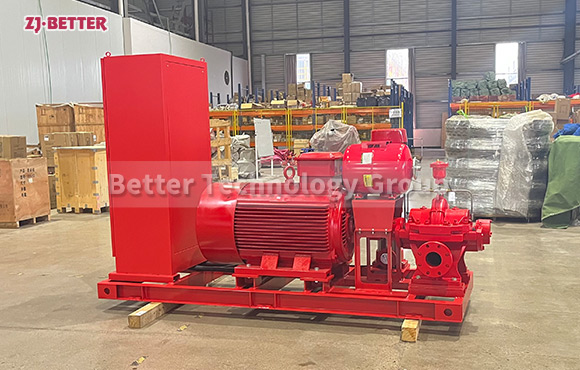
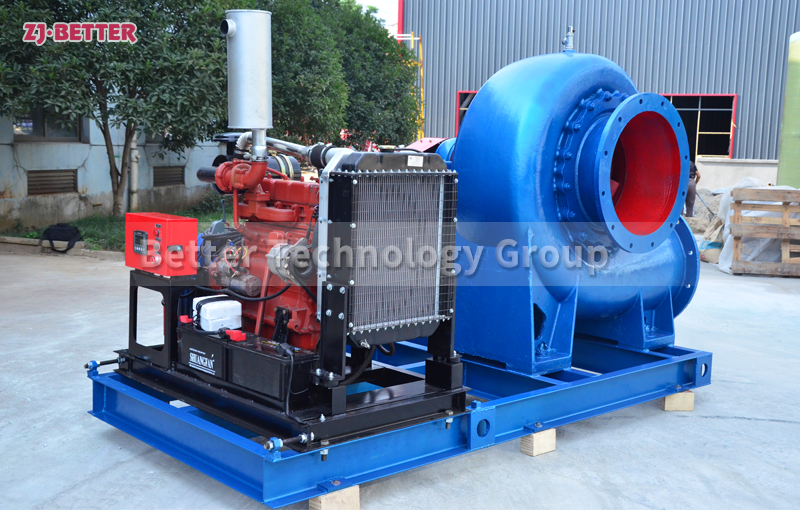
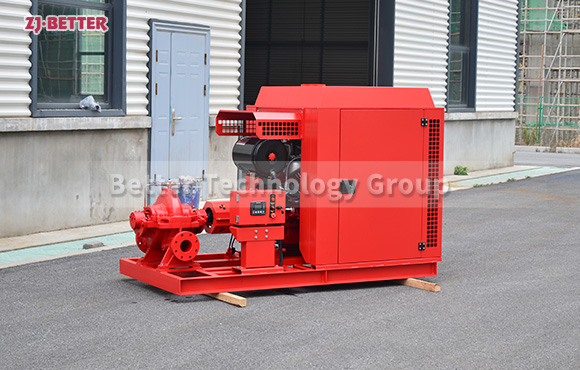
3. Align the Pump and Driver
Misalignment can lead to premature wear or catastrophic failure.
-
For electric pumps, align the motor shaft with the pump shaft precisely
-
For diesel pumps, ensure proper coupling alignment and check for engine mount integrity
-
Use dial indicators or laser alignment tools for accuracy
-
Recheck alignment after bolting down and after system piping is connected
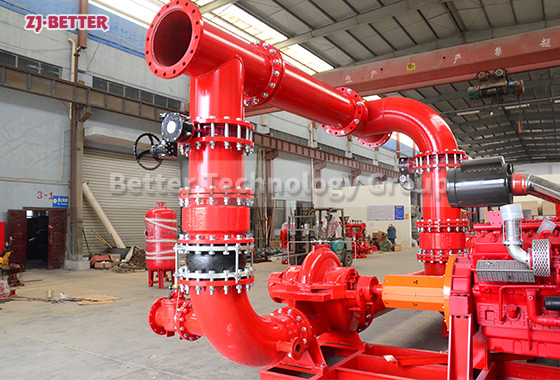
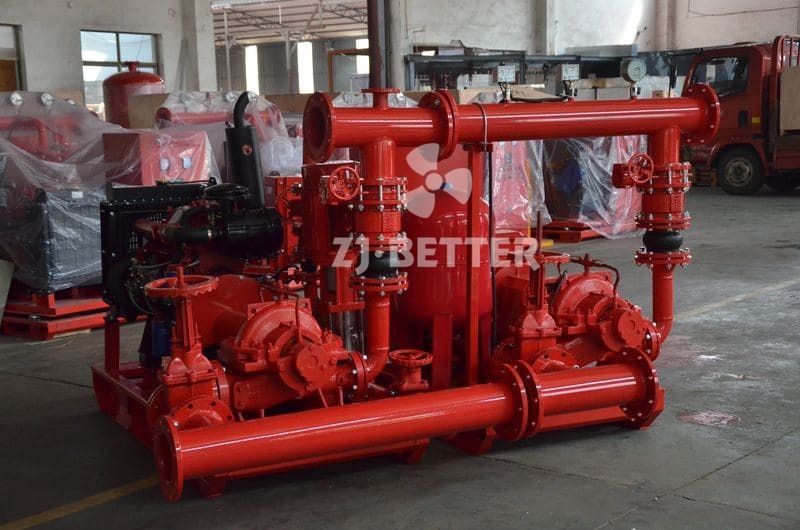
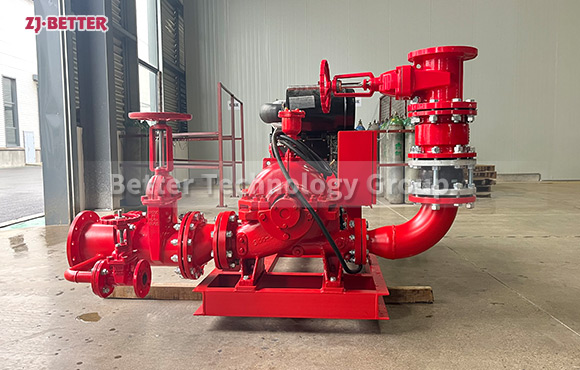
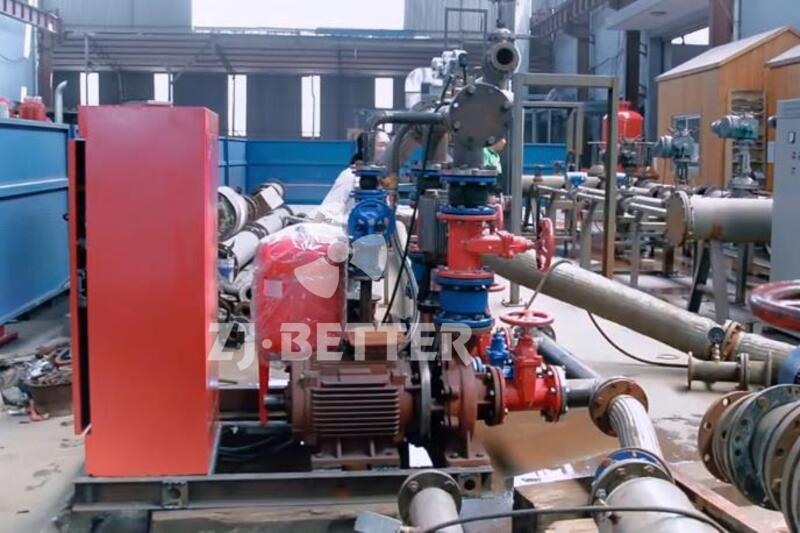
4. Install Suction and Discharge Piping
Piping must follow hydraulic best practices and NFPA 20 rules:
-
Keep suction piping as short and straight as possible
-
Use an eccentric reducer to avoid air pockets
-
Install flexible connections to reduce vibration
-
Include isolation valves, check valves, and test headers as required
-
Ensure there are no high points in suction piping that can trap air
Use flanged or grooved connections for easy maintenance.
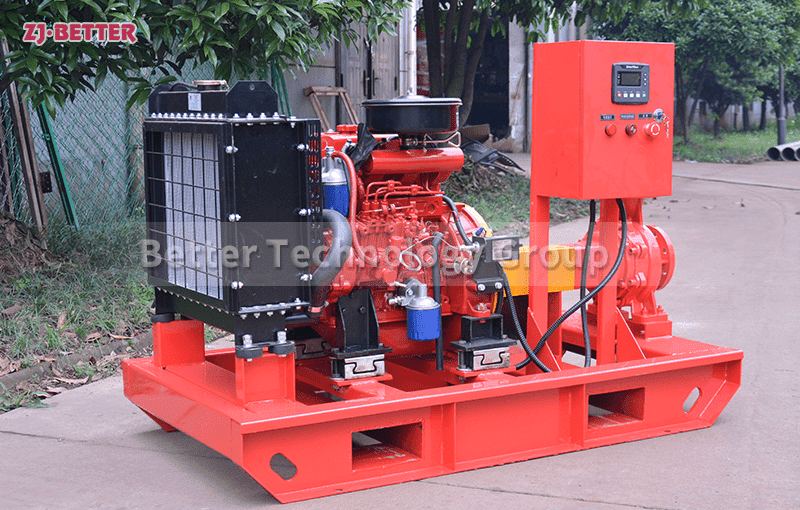
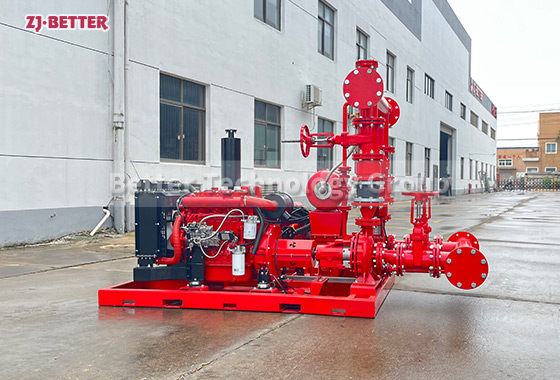
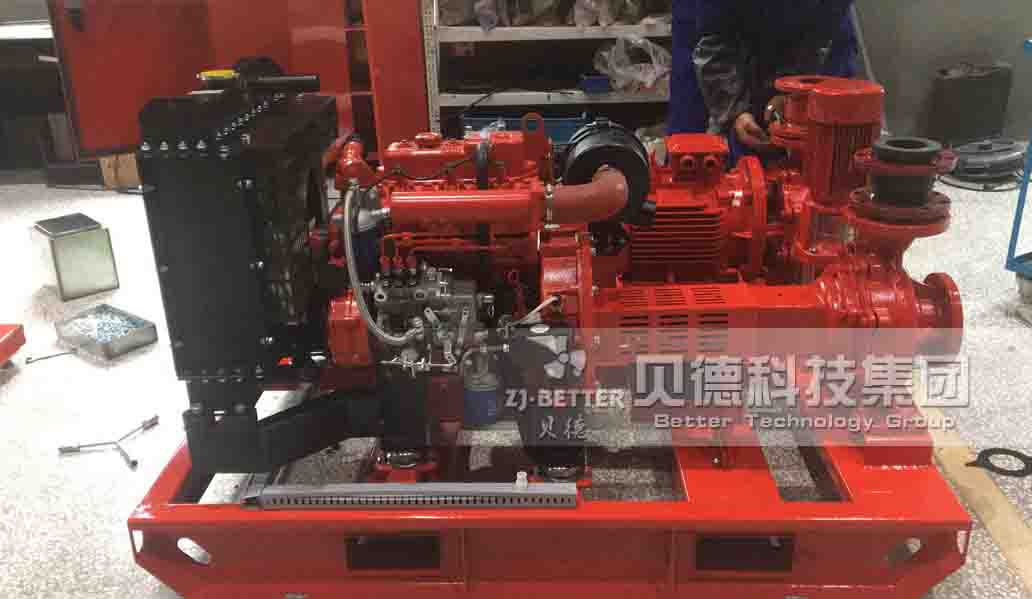
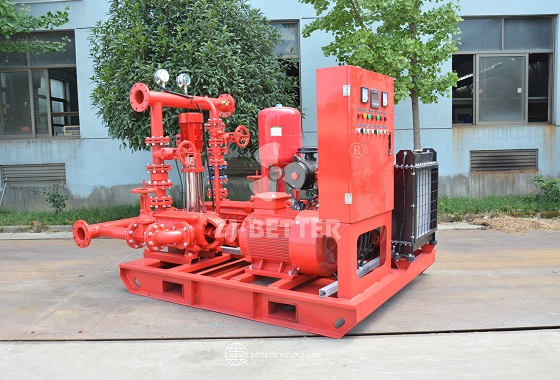
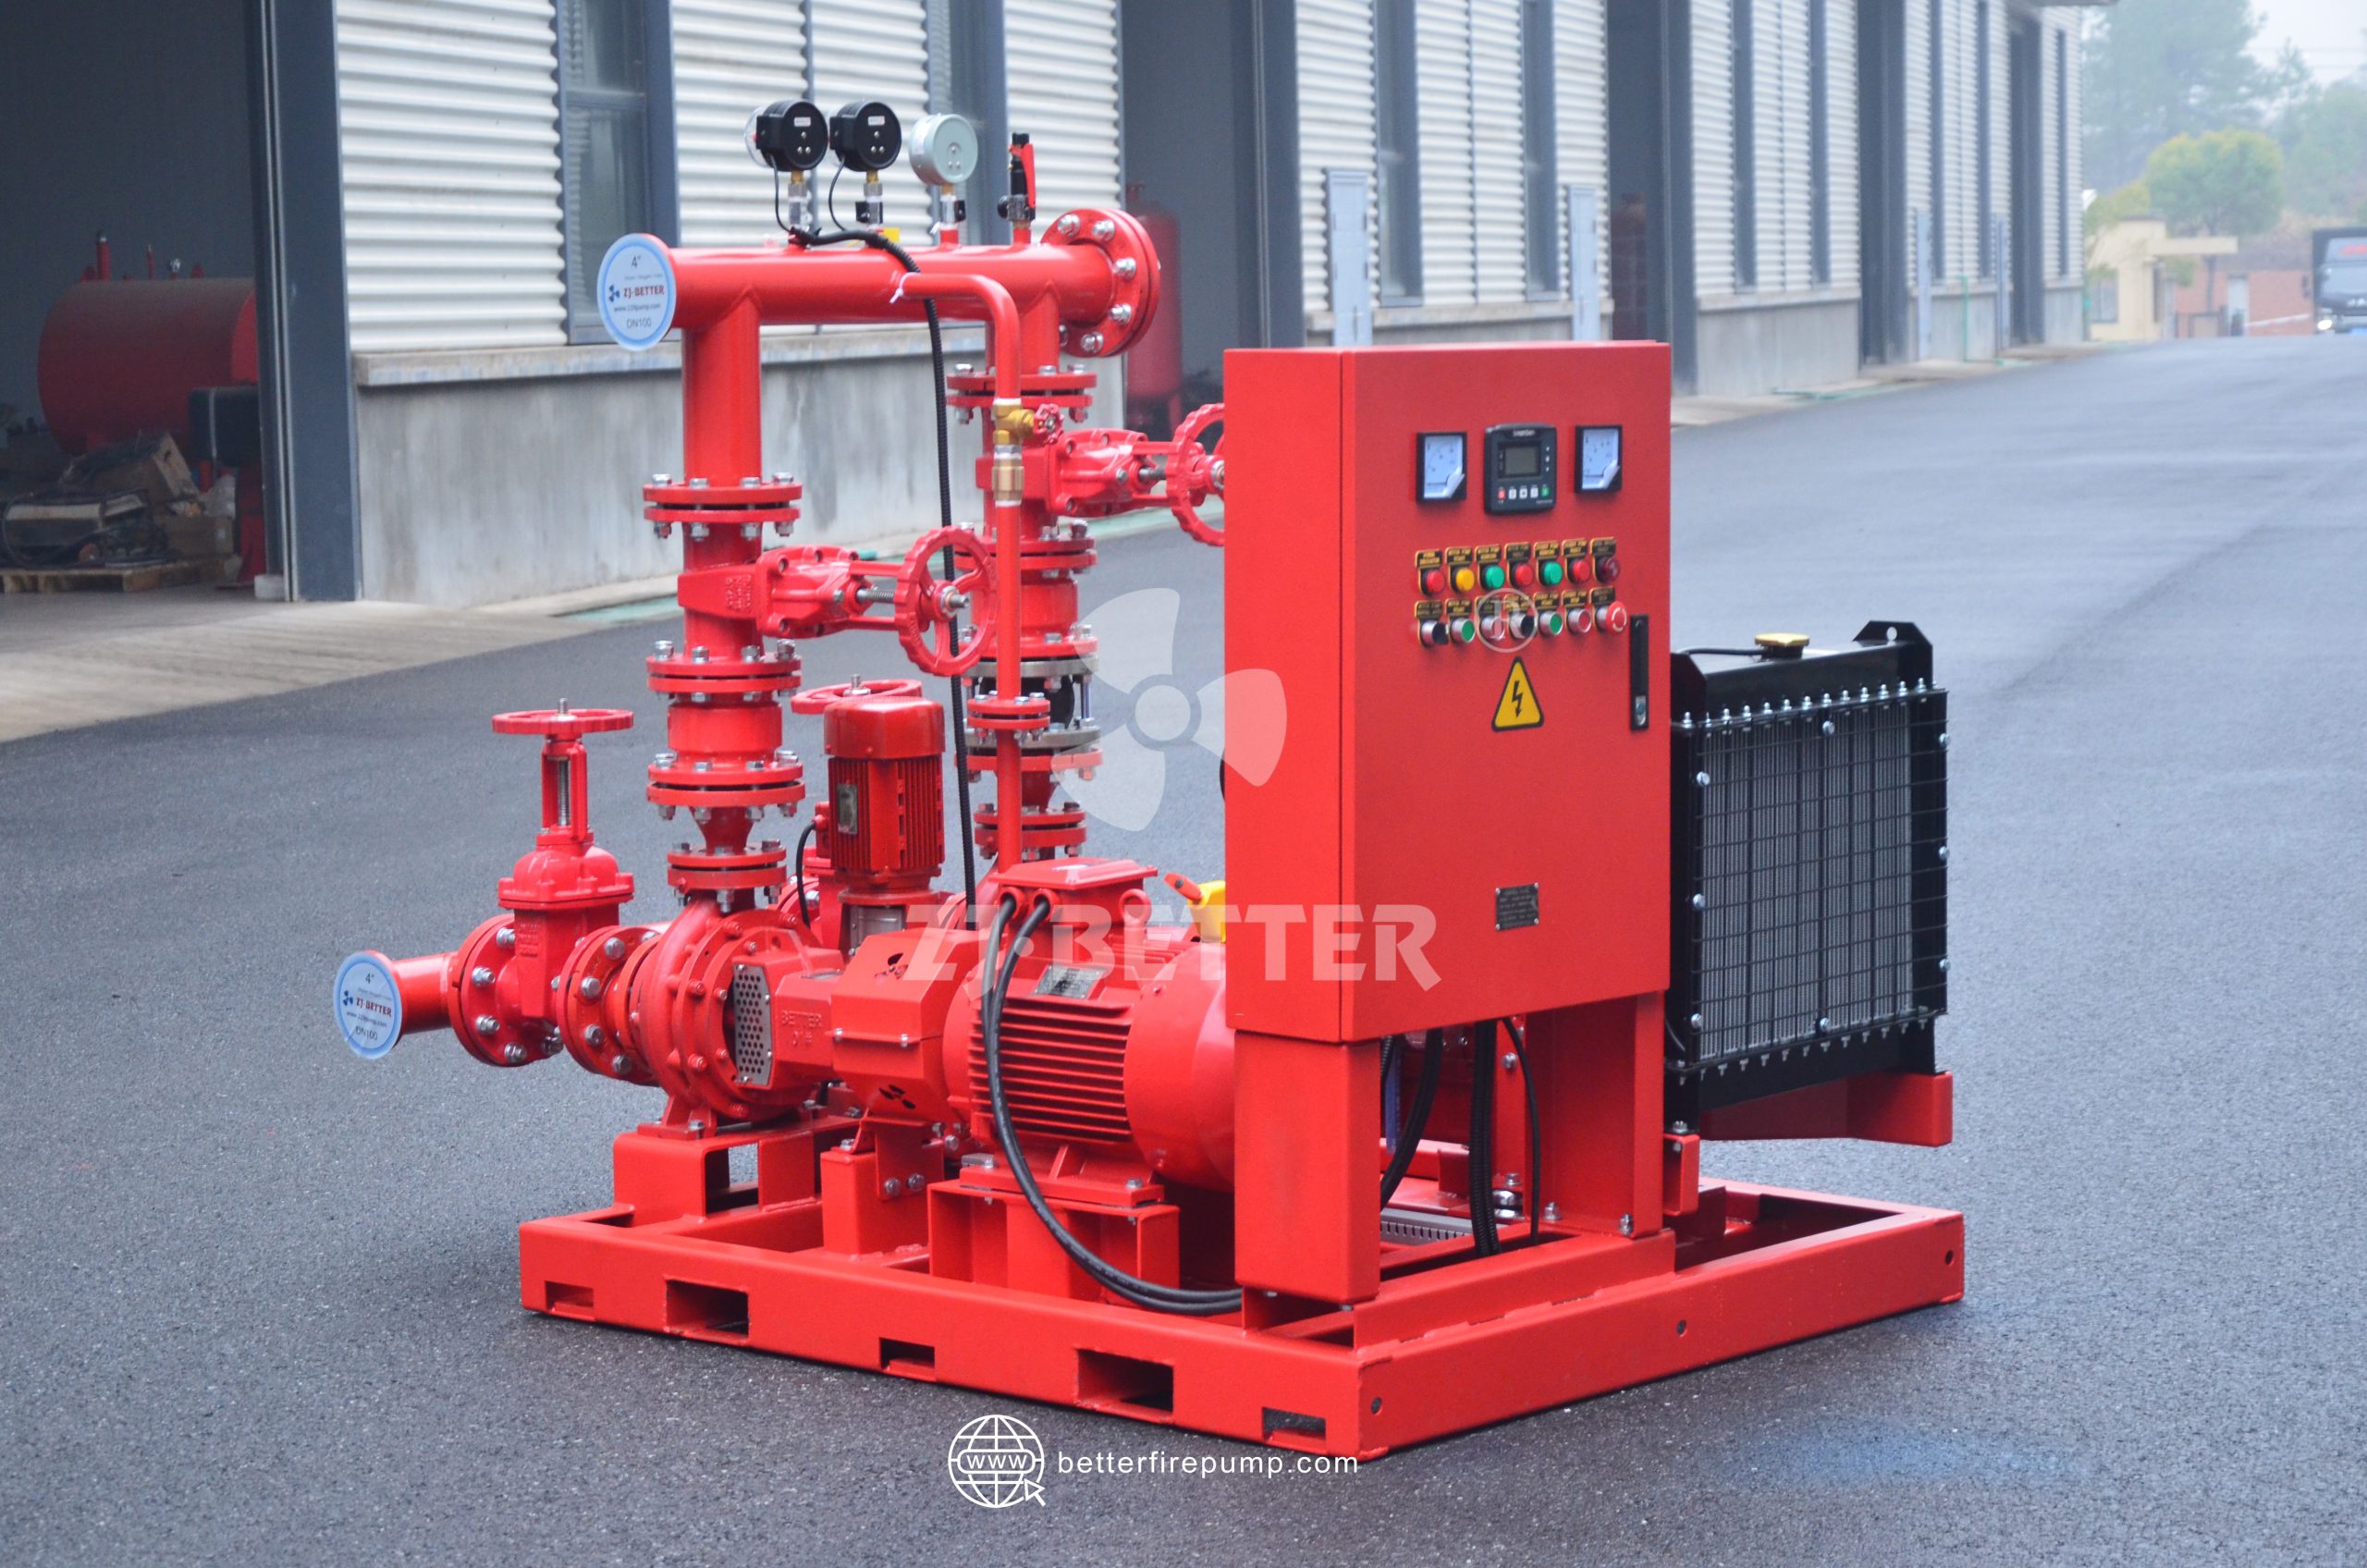
5. Connect Electrical or Diesel Components
Electric Fire Pumps:
-
Install dedicated fire-rated electrical feeds
-
Connect motor starters, controllers, and alarms
-
Ensure emergency backup power is available if required
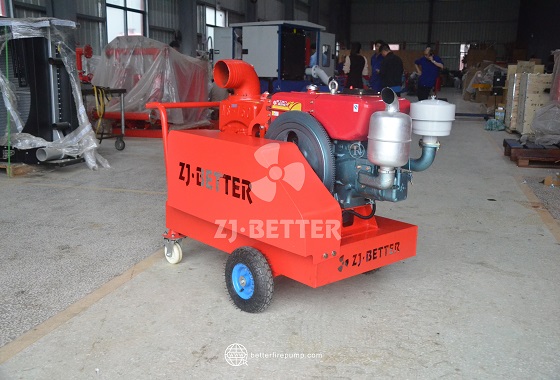
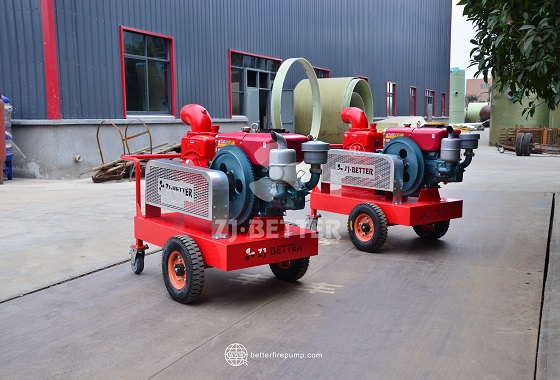
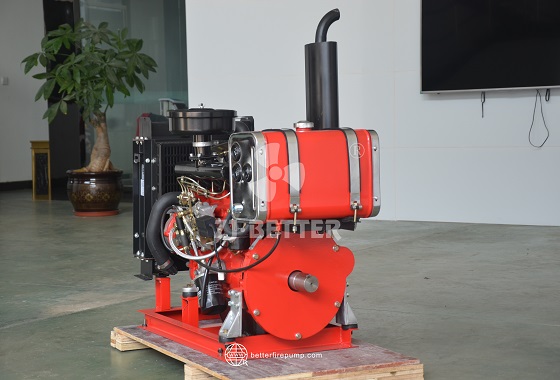
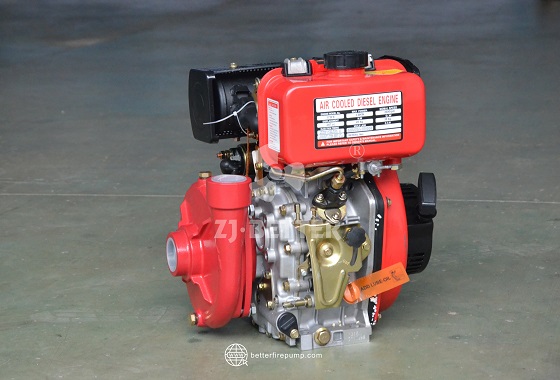
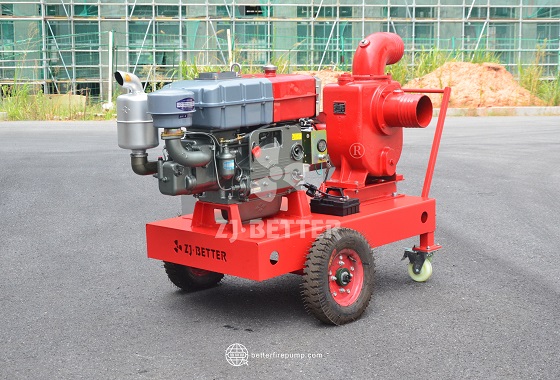
Diesel Fire Pumps:
-
Secure fuel tank and confirm it meets local fire code
-
Connect battery systems, cooling loop, and exhaust lines
-
Test the engine governor and auto-start settings
All electrical work should be performed by licensed professionals familiar with fire safety systems.
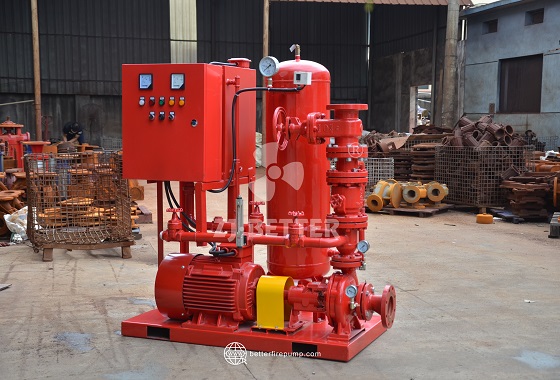
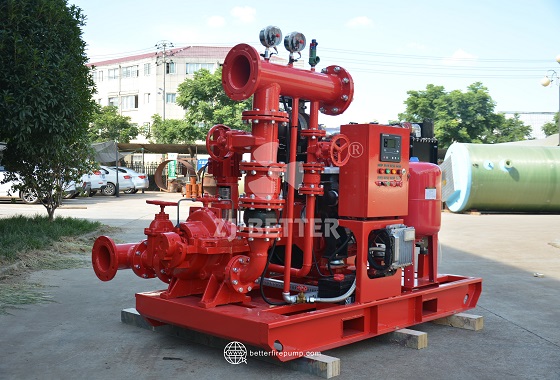
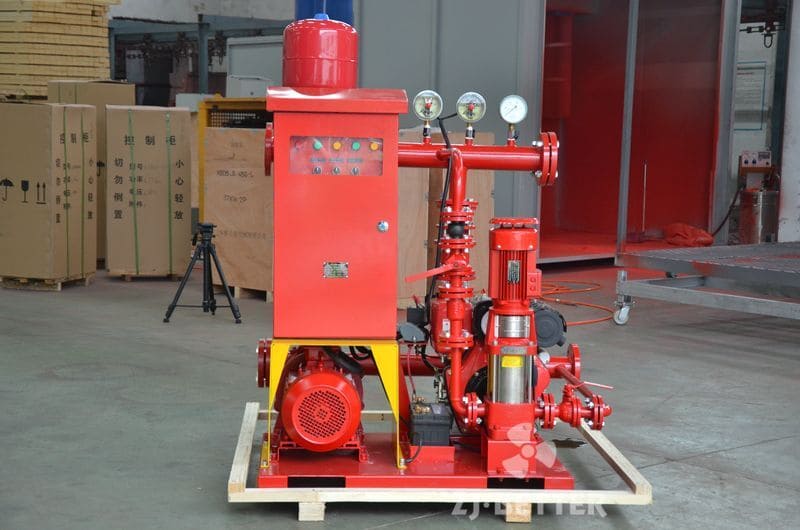
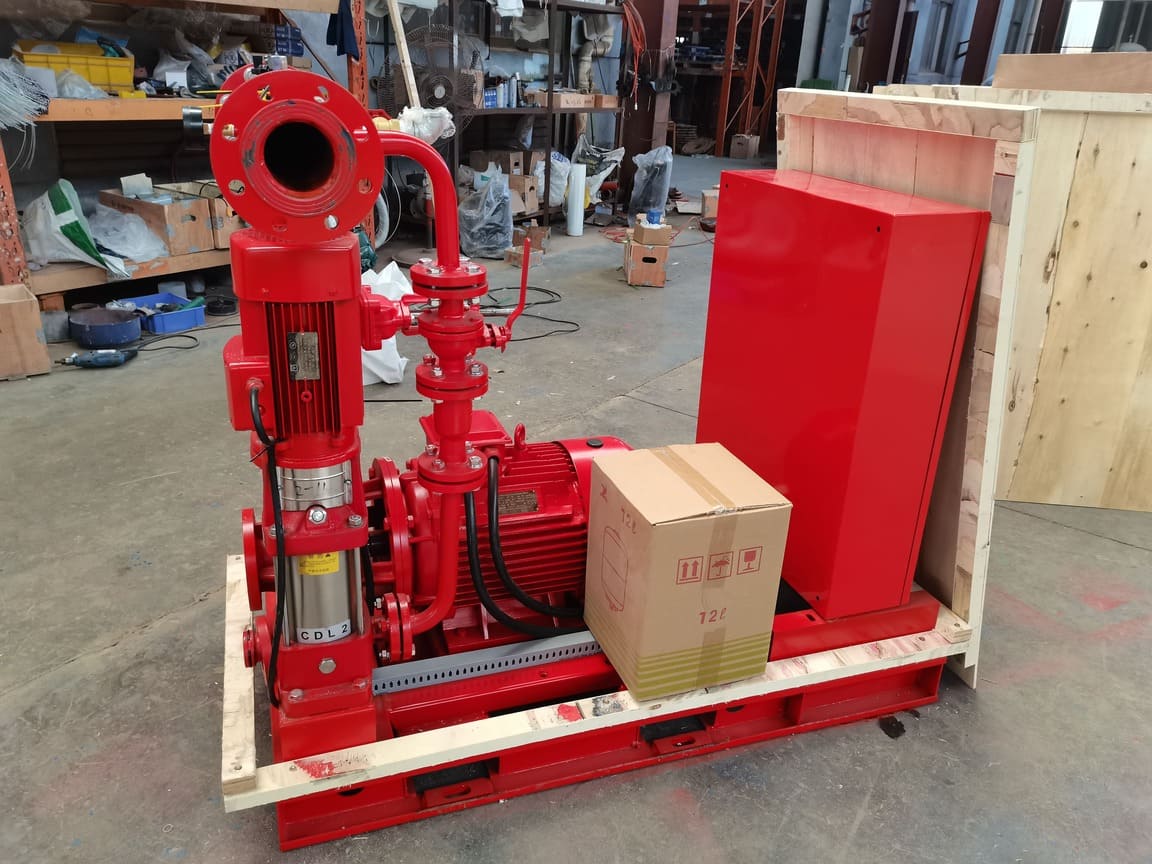
6. Install Jockey Pump and Controller
A jockey pump maintains pressure in the system to prevent false starts of the main pump.
-
Size it correctly (usually 1% to 3% of main pump flow)
-
Set start/stop pressure slightly above the main pump setpoints
-
Wire the jockey controller separately from the main controller
7. Perform Pre-Startup Inspection and Testing
Before starting the fire pump for the first time:
-
Inspect for leaks, loose bolts, and wiring issues
-
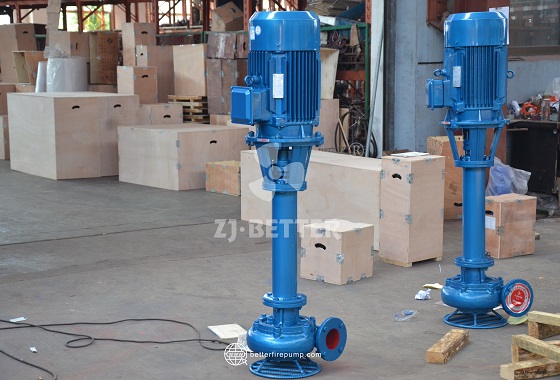
Prime the pump (especially important for vertical turbines)
-
Fill the fuel tank (if diesel)
-
Ensure all valves are in correct positions
-
Verify controller settings
Conduct a no-flow (churn) test and record data.
Conclusion
Proper installation of a fire pump system is essential for reliable performance and code compliance. Following NFPA 20 standards and best practices not only ensures fire safety but also protects your investment in fire protection infrastructure. Always partner with qualified engineers, certified installers, and trusted manufacturers to get the job done right.