How to Read and Interpret Fire Pump Performance Curves
Learn how to read fire pump performance curves to evaluate flow, pressure, and efficiency for selecting the right pump and ensuring optimal fire protection.
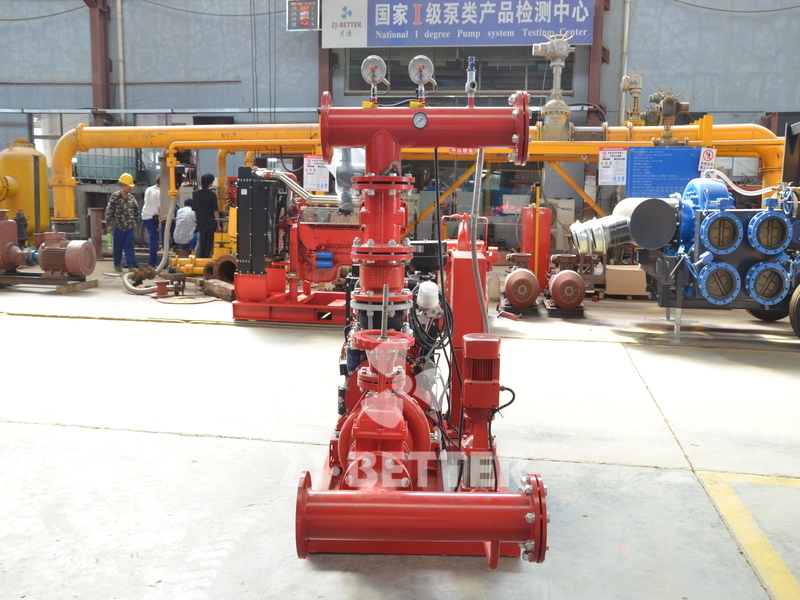
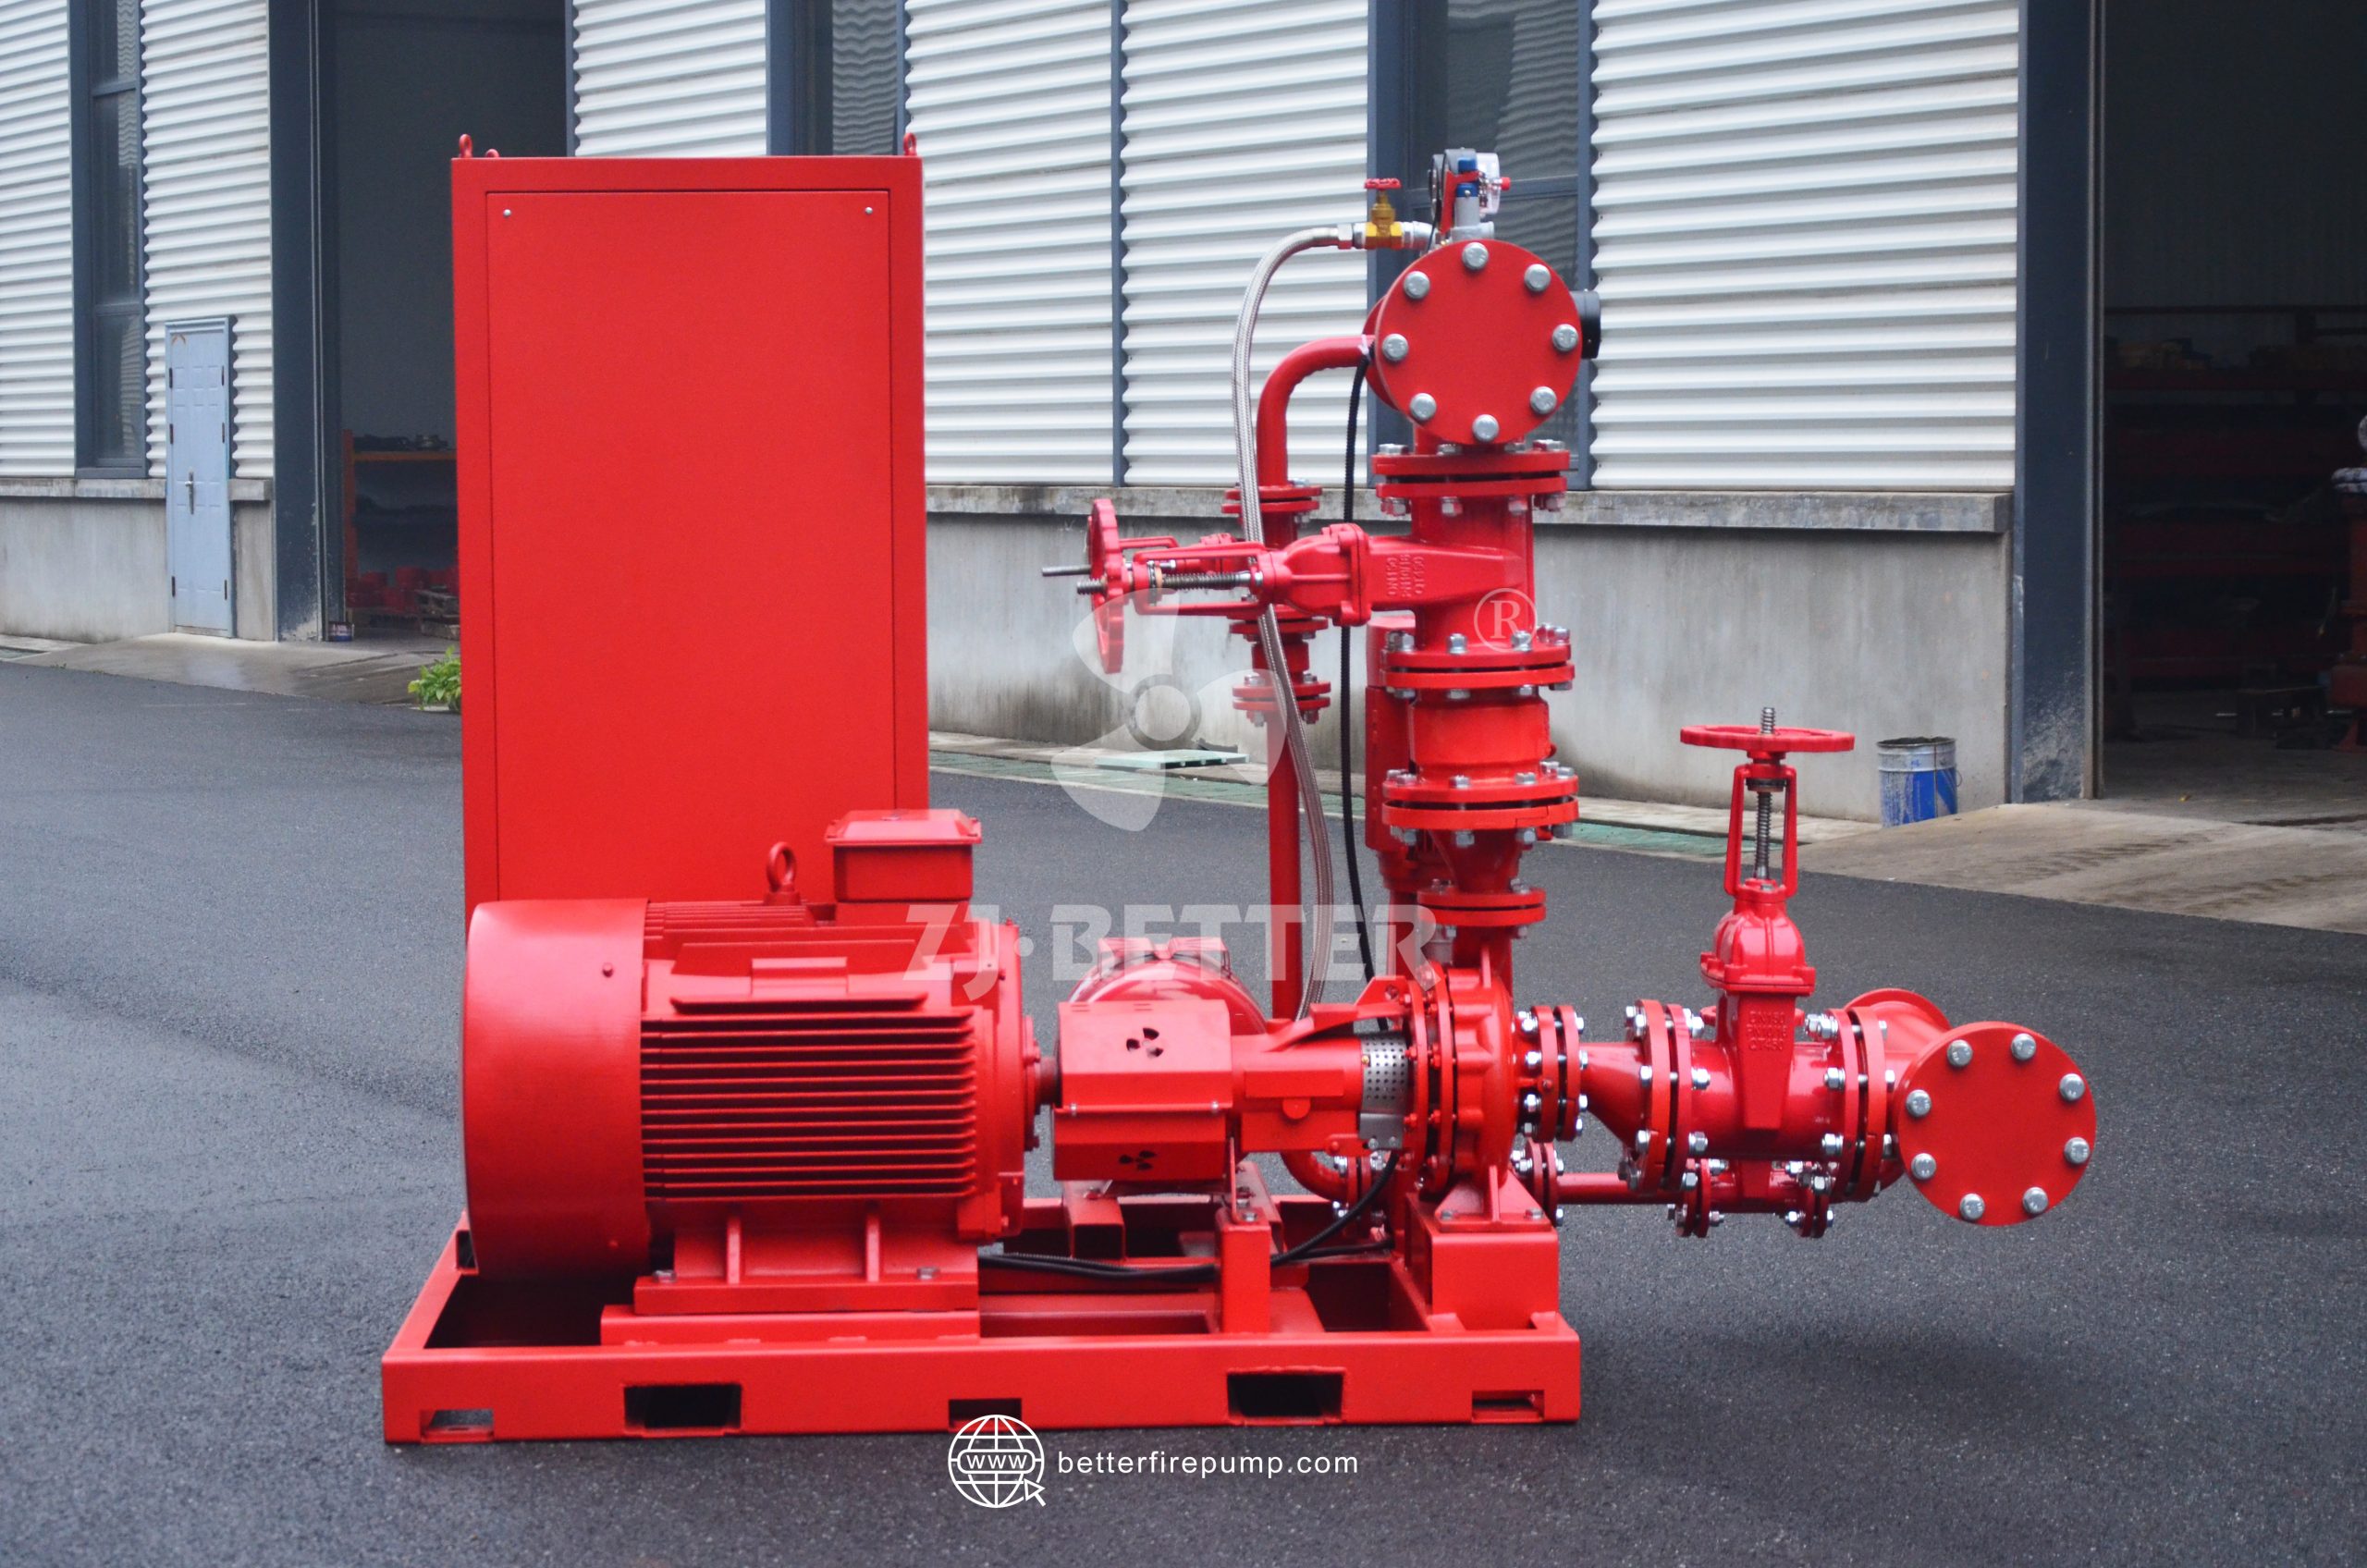
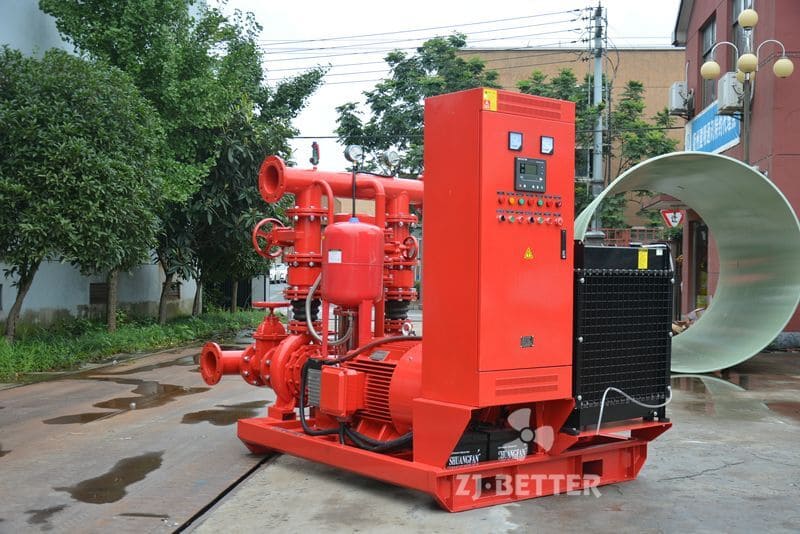
Fire pump performance curves are essential tools for selecting the right fire pump and ensuring it operates efficiently. Understanding how to read and interpret these curves helps engineers, facility managers, and fire protection professionals make informed decisions about system design, sizing, and performance verification.
In this guide, we’ll explain what a fire pump curve shows and how to use it effectively.
1. What Is a Fire Pump Performance Curve?
A fire pump performance curve is a graph provided by the pump manufacturer that displays how a fire pump performs under varying conditions of flow and pressure. It typically includes:
-
Flow rate (GPM or L/min) on the horizontal axis
-
Total head or pressure (ft or psi) on the vertical axis
-
Additional curves showing efficiency, NPSH, and horsepower
2. Main Sections of the Curve
A. Head vs. Flow Curve (Main Curve):
This is the most prominent curve and shows how the pressure (head) drops as flow increases. Fire pumps are designed to produce high pressure at low or no flow (churn), with pressure gradually decreasing as flow increases to maximum rated capacity.
B. Efficiency Curve:
Shows the pump’s hydraulic efficiency at different flow rates. The Best Efficiency Point (BEP) is where the pump operates most efficiently—usually 85% to 90% of rated capacity.
C. Brake Horsepower (BHP) Curve:
Displays the power required to operate the pump at each flow rate. This helps ensure the selected driver (electric motor or diesel engine) can handle the load.
D. NPSH Required Curve (if included):
Indicates the Net Positive Suction Head (NPSHr) required to prevent cavitation at various flows. It should be lower than the NPSH available (NPSHa) at the site.
3. Key Terms on the Curve
-
Churn (Shutoff) Point: Where flow = 0. Pump produces maximum pressure.
-
Rated Flow: Usually defined at 100% of the pump’s designed capacity.
-
150% Flow Point: Fire pumps must deliver at least 65% of rated pressure at 150% of rated flow (per NFPA 20).
-
Shutoff Head: Maximum head the pump can produce at zero flow. NFPA 20 limits this to 140% of rated pressure for most pumps.
4. How to Use the Curve for Pump Selection
When selecting a fire pump, your system demand (based on sprinkler, standpipe, or hydrant needs) should fall within the flat section of the main curve, ideally around the Best Efficiency Point. Avoid operating consistently at very low or high flow rates, which can lead to:
-
Cavitation
-
Overheating
-
Excess wear on seals and bearings
Also, confirm that the pump can handle 150% of the required flow with acceptable pressure and driver power.
5. Real-World Example
Let’s say you’re evaluating a pump with the following data:
-
Rated flow: 750 GPM
-
Rated pressure: 100 psi
-
Shutoff pressure: 130 psi
-
Pressure at 150% flow (1125 GPM): 65 psi
This meets NFPA 20 requirements because:
-
Shutoff pressure is below 140% of rated (100 psi × 1.4 = 140 psi)
-
Pressure at 150% flow is ≥ 65% of rated (100 psi × 0.65 = 65 psi)
6. Verifying Existing System Performance
Fire pump flow tests (performed annually per NFPA 25) generate real performance data, which can be plotted against the original pump curve. Significant deviations may indicate:
-
Wear or blockage in the impeller
-
Pipe scale or obstructions
-
Incorrect suction pressure
-
Cavitation due to insufficient NPSHa
Compare test points (0%, 100%, and 150% flow) to the curve to evaluate pump health.
Conclusion
Fire pump performance curves are not just technical documents—they’re essential tools for ensuring safety and reliability. Learning how to read them allows you to choose the right pump, operate it within ideal conditions, and spot problems before they become serious.
Always consult the manufacturer’s performance curves when designing or troubleshooting a fire pump system.